How to Fix Damaged Joints in a Concrete Floor
Removing and replacing the old filler is only part of the repair process.
Key Takeaways:
- Damaged joints in your concrete floor will need repair
- You will have to remove the old filler and replace it
- The job could also require significant cleaning of the joint
- Hiring a concrete contractor makes the repair far more straightforward
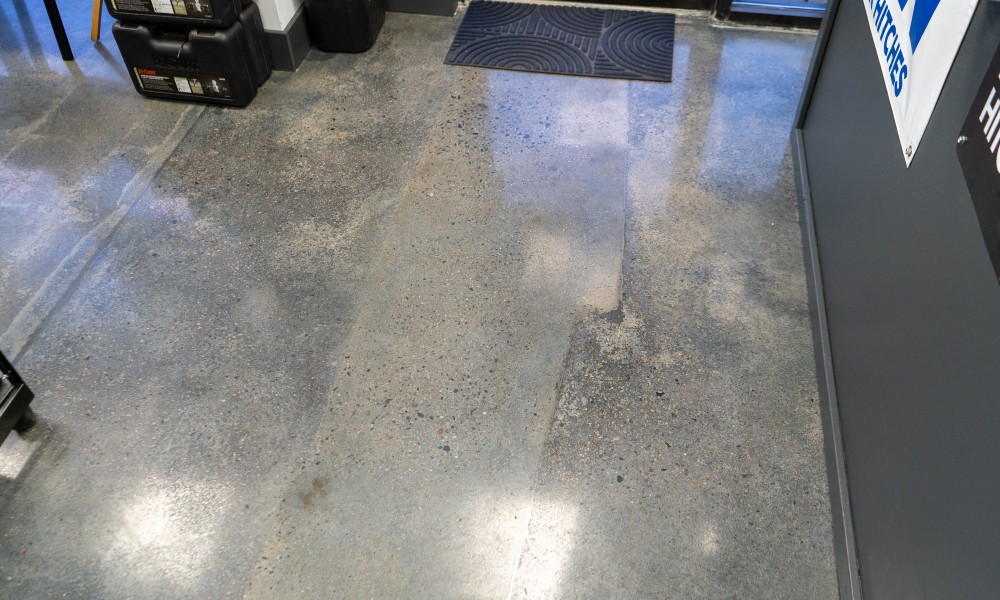
Concrete slabs in commercial or industrial settings are under constant stress, and the surface edges at the joints could experience damage over time. Wheels and other equipment will wear your joints down, even if you apply filler, leaving you with a repair as the floor ages.
Fortunately, the repair is relatively straightforward for an experienced contractor, as the process involves removing the old filler and damaged concrete and fixing the surface. From there, you can apply a new filler and continue using the concrete floor.
You don’t want to take any shortcuts when repairing your concrete floors. Here’s a look at how to fix damaged joints on your surface and restore them to usable condition.
Cleaning out the joints
The first step in the repair process is sawing and cleaning out the joints. You’ll start by removing the existing concrete expansion joint filler. If you hire a contractor to handle the job, they’ll probably use a saw to clear the joint because it’s the fastest and easiest option. Those choosing to do the work themselves will likely have to utilize a scraping tool to dig the old joint filler out.
It should only take your contractor a single pass to cut the old filler out. Cutting the joint filler out could also loosen some damaged concrete from the edges, which will be scraped out as part of the repair.
There’s a good chance your contractor will use a scraping tool with a vacuum attachment to further clean out the joints. This process will remove the damaged concrete at the same time. In some situations, your contractor will go over the area with another vacuum to ensure nothing is missed along the way.
Repairing the concrete with mortar
The goal is to avoid significant repairs to your concrete surface later on or, worse yet, having to grind the floor down and essentially start from scratch. The good news is that you can repair the edges with mortar and apply new joint filler afterward.
You’ll want to mix an epoxy resin mortar to apply in this situation. This mortar can reform the joint shoulders so they’re flush with the rest of the surface, reducing stress on the edges. It’s essential to wait for the mortar to dry and harden before completing the repair to ensure the surface is durable and stable.
Applying new joint filler
Selecting a suitable joint filler is a crucial part of your repair. This filler must be durable enough to withstand the abuse you’ll put it through, particularly if your floor is in a warehouse or other busy industrial building. A joint filler with a Shore A durometer between 80 and 85 is essential because it’s hard enough to handle the loads it will encounter while remaining flexible enough to move as the floor shrinks or shifts over time.
When selecting a joint filler, you’ll also need to consider the building’s temperature. This aspect gets more manageable if the building is enclosed and doesn’t experience significant temperature changes.
Applying the joint filler involves pushing it into the joints using a pump or other tool. You’ll need to mix the filler properly and apply it to the joints quickly before it has time to harden.
Your contractor might make two passes with the joint filler as well. The first pass allows the joint filler to settle into the joint and fill any cracks sitting below it. The second pass overfills the joint slightly, ensuring you don’t have an unlevel surface that will create problems for forklifts and other wheeled equipment you use in your warehouse or other industrial building.
The finishing touches
Because you’ve overfilled the joints, you’ll have to scrape them down to ensure they’re flush with the slab. This process is relatively straightforward, and your contractor will probably have some specialized tools to make it easier.
It’s crucial to give your joint filler long enough to cure before scraping the excess substance away, and the amount of time you’ll have to wait depends on the material. Typically, epoxy joint fillers take about a day to dry, while polyurea fillers are sometimes ready to shave down in as little as half an hour. Both materials are hard yet flexible, making them ideal joint filler options.
Repairing cold joints
Fixing a cold joint is slightly different because it’s not purposely cut into the floor. Instead, a cold joint occurs because two layers of concrete didn’t bond properly. This issue could cause structural problems for the slab.
In short, a cold joint results from a delay in the pouring process. Repairing a cold joint once the concrete sets involves developing a way for the two layers of concrete to form a bond. Applying a joint sealant between the layers could accomplish this, as could inserting a dowel bar or cutting a control joint in place of the cold joint.
A contractor can help
You don’t want to take any chances when it comes to damaged joints in a concrete slab because an inadequate repair could lead to further deterioration. The result could be a significant repair in the future that will end up costing you more than fixing the damaged joints properly in the first place.
Concreate can assist with repairing the damaged joints on your concrete slab. Our team has significant experience with concrete repairs, preparation, and coatings, ensuring we can help you get the most from your floors. Contact us or visit thisisconcrete.com for more information on how to fix damaged joints in a concrete surface.